How to Field Strip the M1 Garand Rifle
Field Stripping the M1 Garand
Field stripping is the term for disassembling a gun into its major components or assemblies. You don't completely disassemble it, but you break it down enough that you can clean and lubricate it. As the term suggests, this is something you might do in the field while further disassembly requiring special tools would be done back at the armory or shop. Here is how to field strip an M1 Garand, disassembling it into its major components.
Start, of course, with an empty rifle!
Pull the bolt handle back firmly to its stop, then allow it to gently move forward until it is stopped by a latch.
You should see the follower in the magazine area, having moved to the top of its possible range of movement. In front of that you should see an empty chamber.
Verify that the weapon is unloaded before continuing.
Hold the operating rod handle back with your right hand while slightly depressing the follower with your left. Allow the operating rod and bolt to travel forward enough that the bolt is traveling over the follower. Remove your left hand and move the operating rod handle forward until the bolt is locked in place.
Remove the trigger group
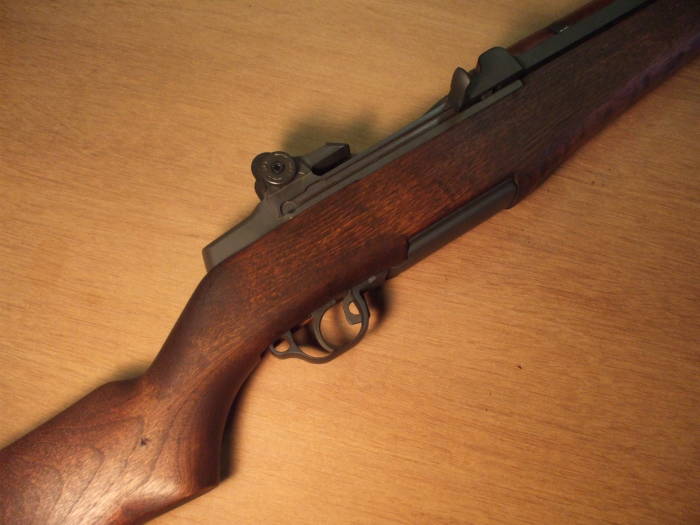
Move the safety to its "On" position by pulling it back into the trigger guard.
Amazon B005SRBEWS
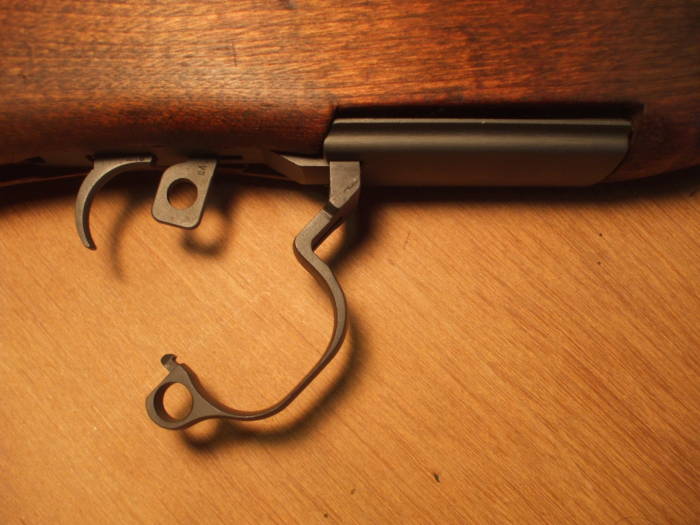
Pull the rear of the trigger guard toward the rear, then rotate the trigger guard down and away from the stock.

Amazon B004G02ULC
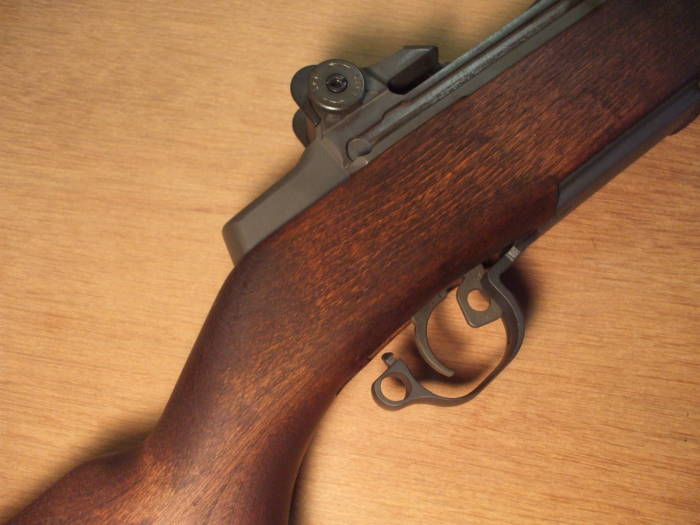
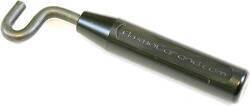
As you can see, there is a small catch on the rear of the trigger guard. Pull the rear of the guard toward the rear to disengage this latch.
If you can't get a good grip on it, you will find that the nose of a .30-06 cartridge fits in that hole.
Amazon B0006F5XOW
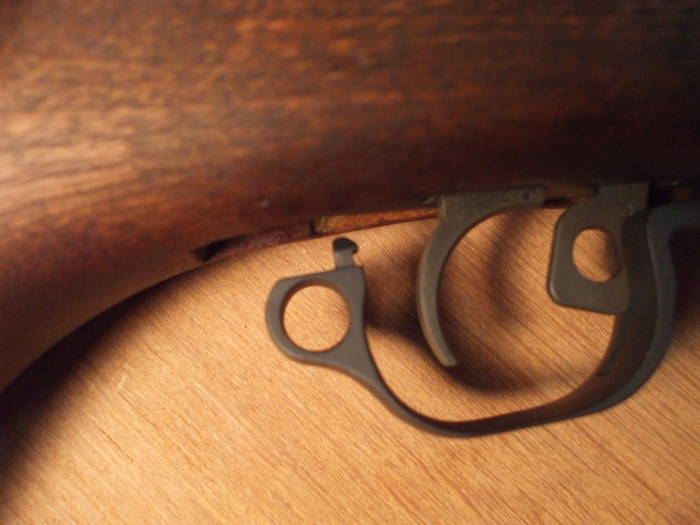
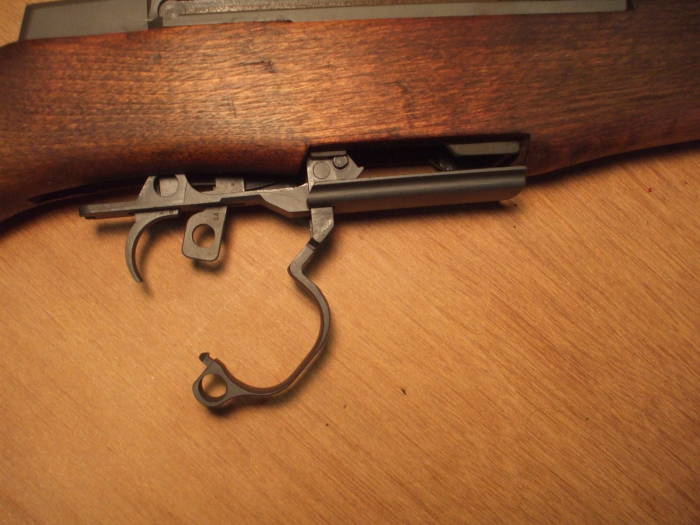
When the trigger guard is fully rotated downward about 45° the trigger group will be unlocked from the receiver.
Amazon B010DZQMXA
You may have to rock it slightly forward and back to get it started, but the trigger group should slide straight down out of the receiver.
Remove the trigger group and set it aside.
Amazon B005GLGACK
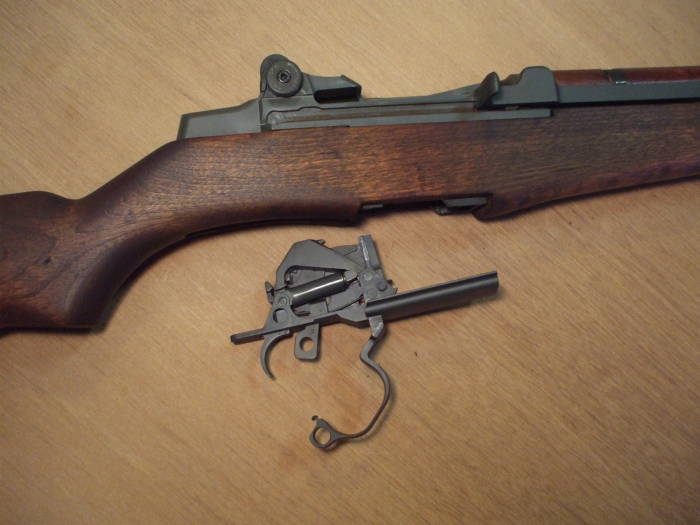
The trigger group was holding the stock to the receiver. You can now rotate the stock downward around its forward end.
You might need to hold the rifle around the front of the stock and hit the top of the buttstock with the heel of your hand to get it started.
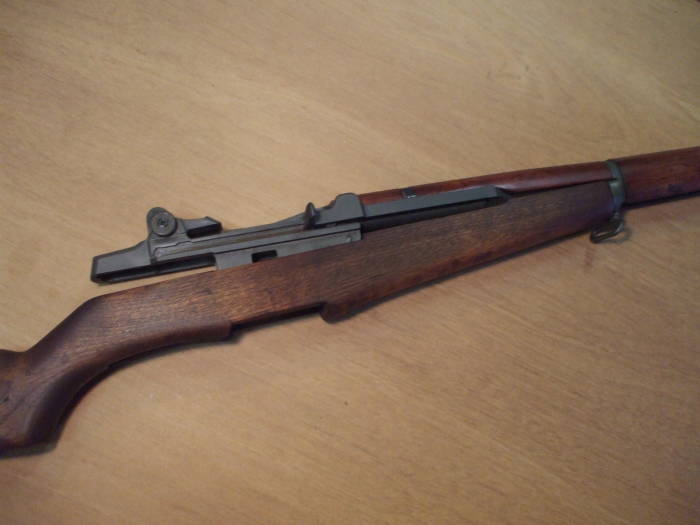
Rotate the stock further downward, until you can pull it to the rear and fully remove it.
The ferrule remains on the front of the stock, the lower band is the mating piece on the handguard.
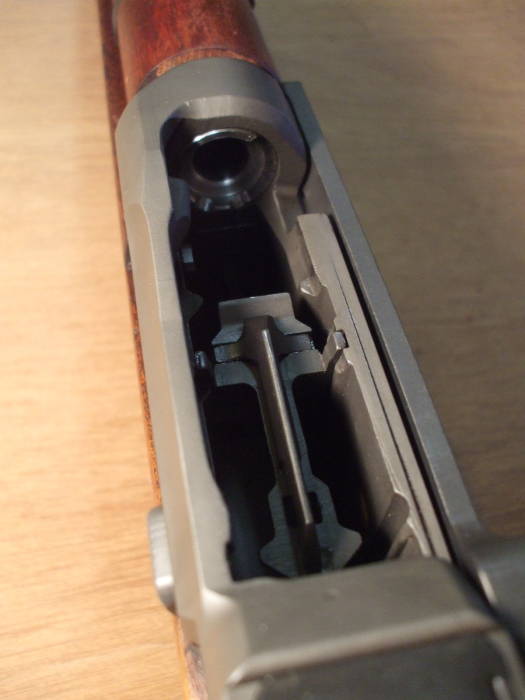
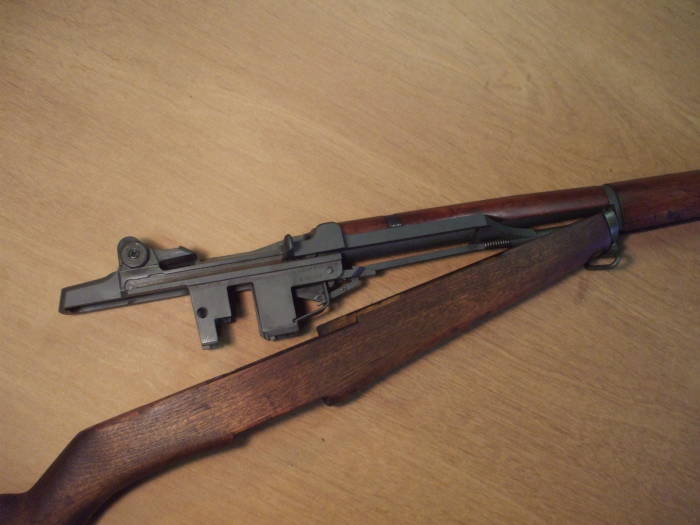
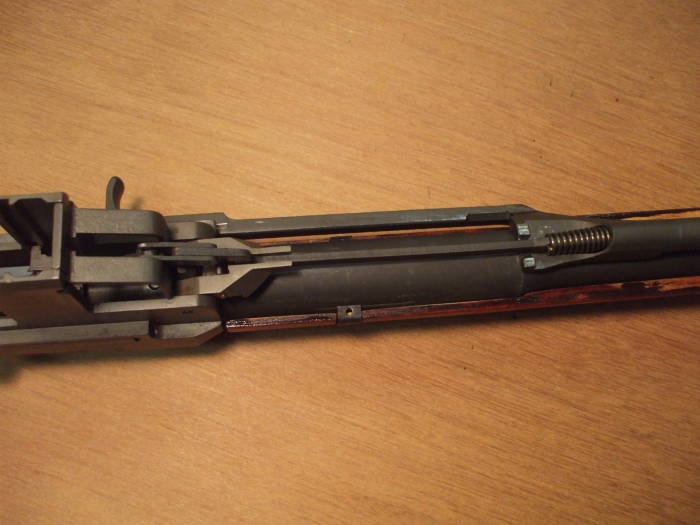
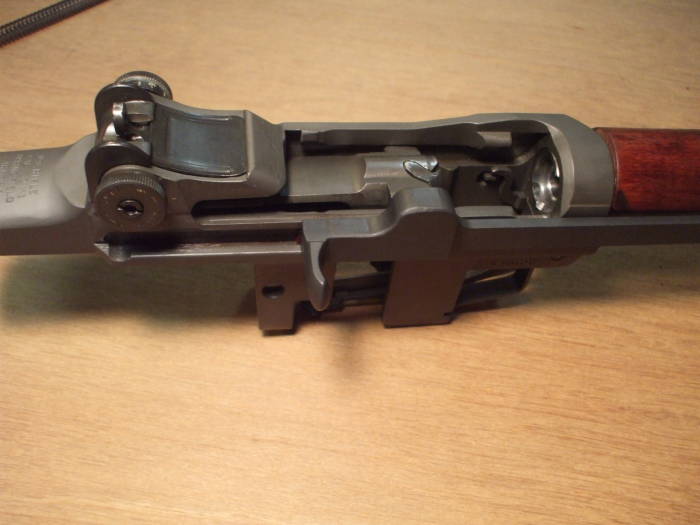
Turn the gun over, and notice where the follower rod disappears into the hollow operating rod.
The follower rod has a fairly small rectangular cross section. You will see the back end of the operating rod spring on the front end of the follower rod.
The back end of the follower rod zig-zags up and then back again, ending in a short fork connected to some of the action in the bottom of the receiver.
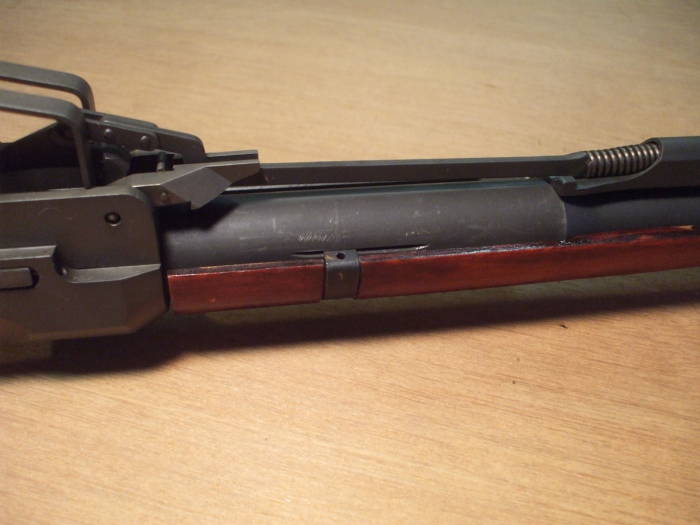
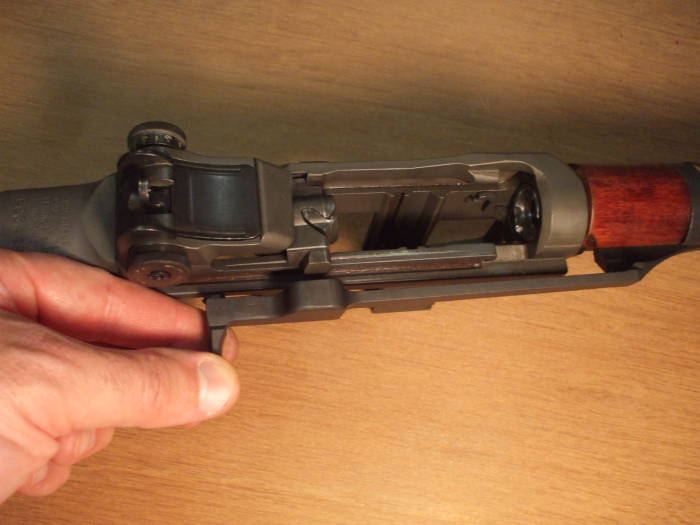
Here's a side view. The follower rod is the relatively small rectangular rod running from left, where it zigzags down from a fork, to the right, where it mates into the operating rod spring which then disappears into the tube forming the forward end of the operating rod.
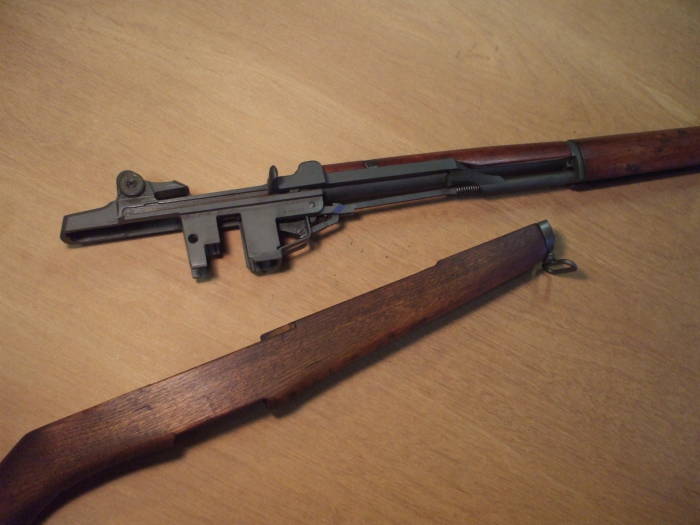
Grasp the follower rod and move it forward, to our right in these views. You will have to further compress the operating rod spring to do this.
When the forks at the rear of the follower rod have disengaged from the follower arm, lift it up and let it move toward the rear until the operating rod spring is no longer compressed.
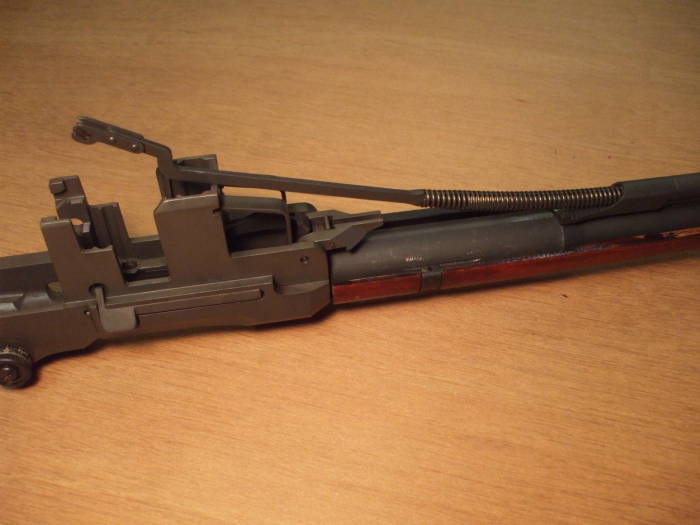
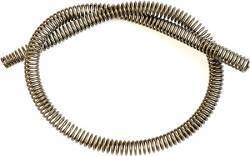
Continue to draw the follower rod and the operating rod spring to the rear until you have completely extracted the spring from the tube of the operating rod.
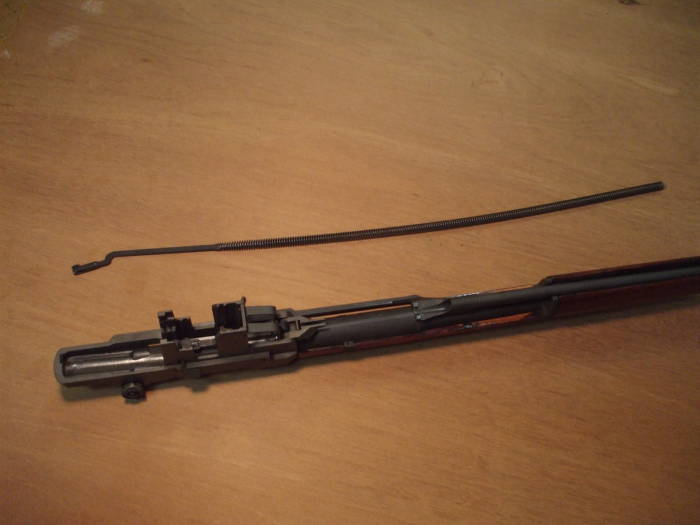
Without the operating spring, everything gets loose and moves freely.
Turn the gun upright, and the follower and slide will simply fall to the bottom of its travel. You can easily move the operating rod hand and the bolt, and they will remain where you leave them.
Move the operating rod handle and bolt fully to the rear. You can now rotate the operating rod out from the receiver, disengaging it from the bolt's lug.
You can now remove the bolt by moving it forward, holding its lug and lifting that up and out of the receiver.
Pull the operating rod toward the rear to remove it.
As you remove the operating rod by moving it toward the rear, the piston at its forward end will come out of the gas cylinder. In this view we are looking at the bottom of the gun, where the operating rod's forward piston has just left the gas cylinder and is still within the forward handguard.
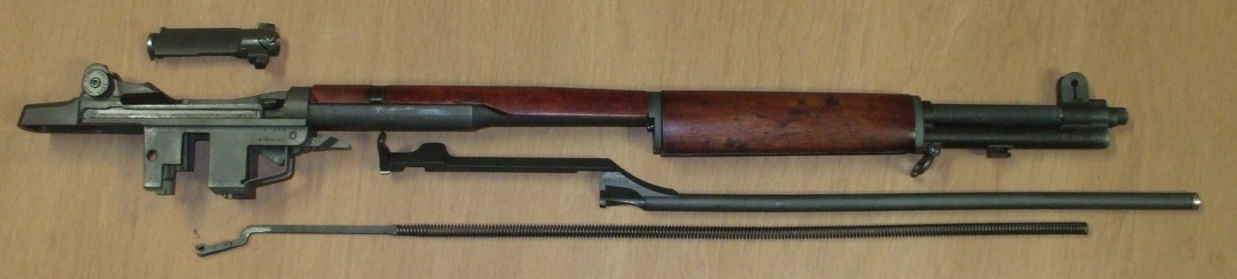
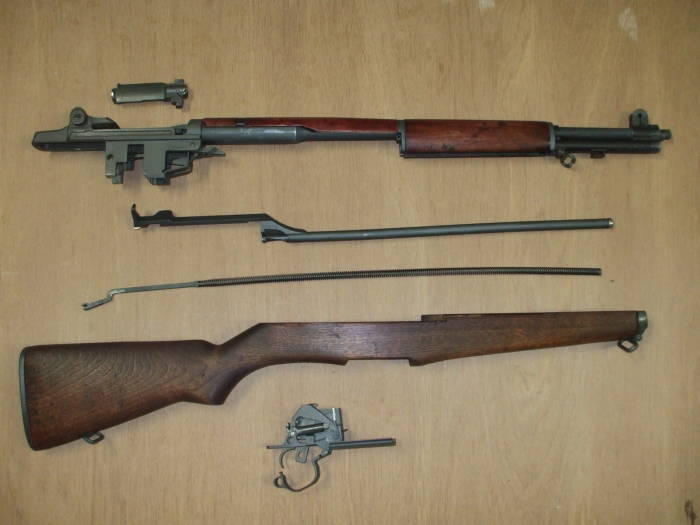
At this point the rifle has been broken down into its major components.
You are now ready to clean and lubricate it.
However, to continue...
Amazon B01N5L2C2F
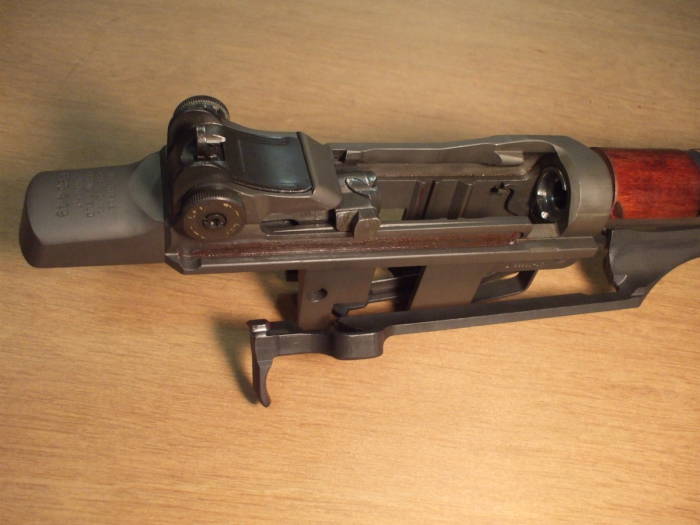
The follower arm pin inserts from right to left at the front of the receiver, holding several parts in place.

Amazon 1934044253
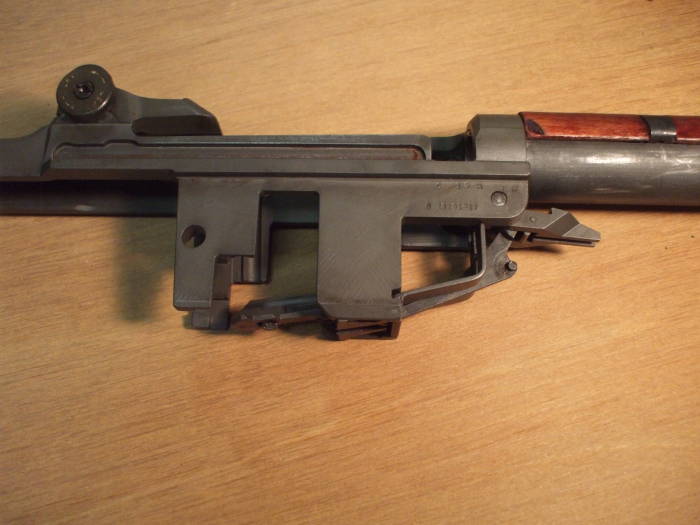
Press the left end of the follower arm pin into the receiver. The design intentionally allows you to use a sharp nosed bullet to get this started.
The follower arm pin ran through both the follower arm and the operating rod catch. And, the follower arm reached through the bullet guide and fit into the slots on the bottom of the follower.
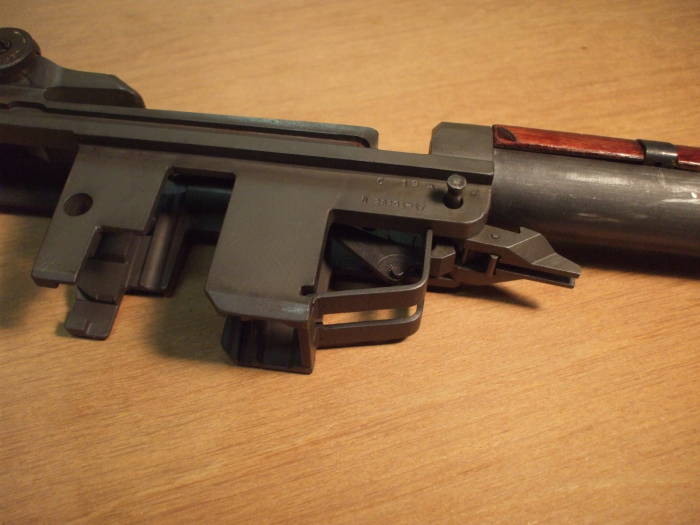
All these pieces come apart now.
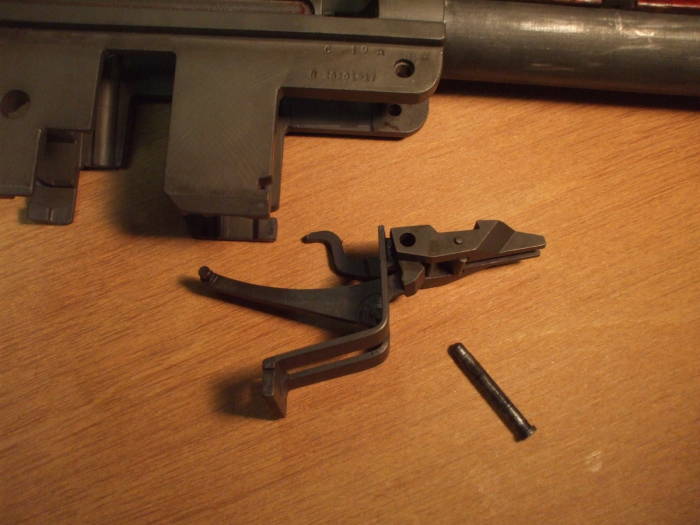
Here the parts have be spread apart slightly. The trickiest part is getting everything aligned properly and that pin back into place.
Now, if you want to go even further...

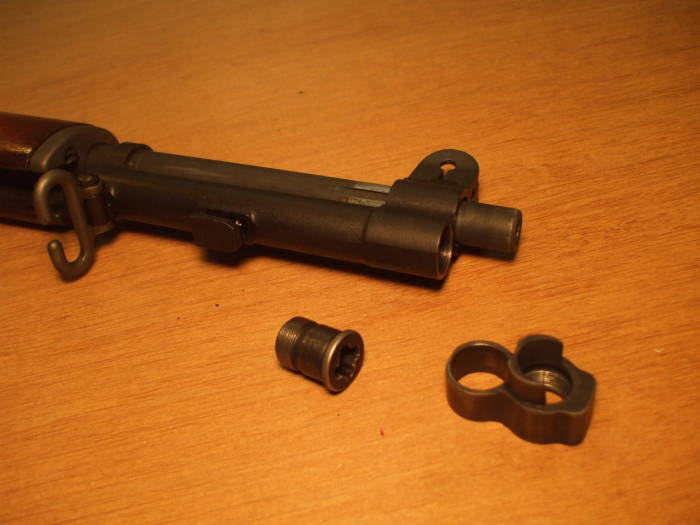
The gas cylinder lock screw, below the barrel, can be removed with a large straight-bladed screwdriver or a similar tool.
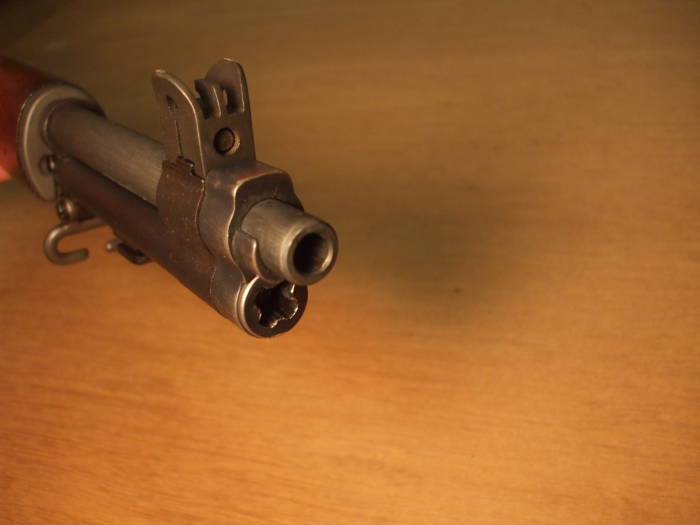
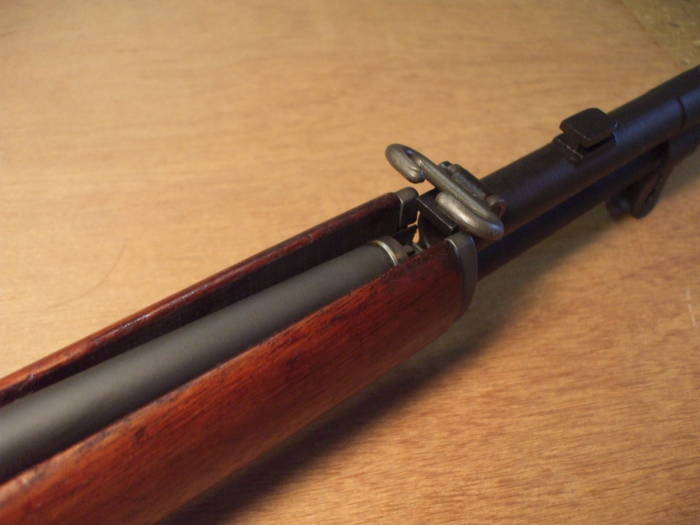
Remove the gas cylinder lock screw. You can now unscrew the gas cylinder lock.
What has happened here is that the gas cylinder lock, shown partly rotated in this view, has been threaded onto the end of the barrel. Then the gas cylinder lock screw has been pushed through the gas cylinder lock and threaded into the gas cylinder.
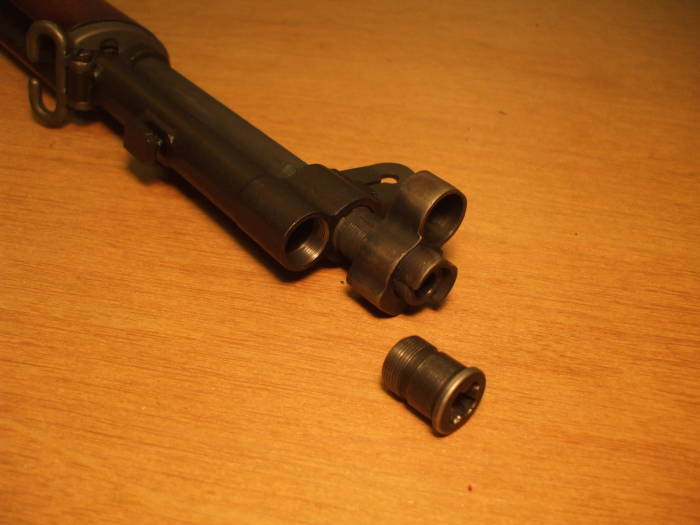
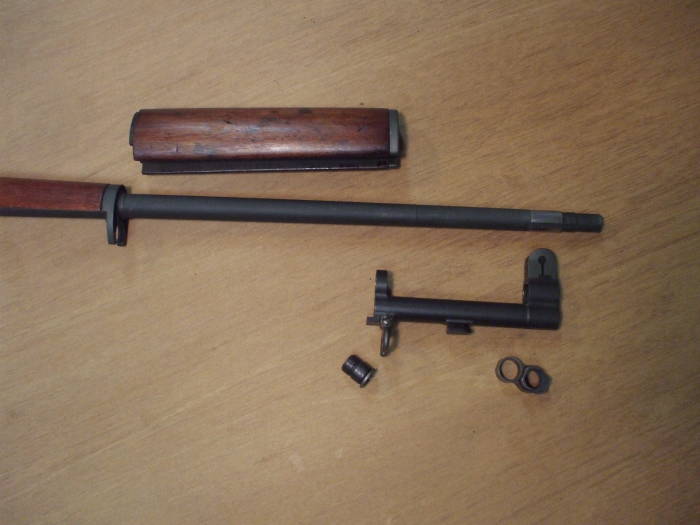
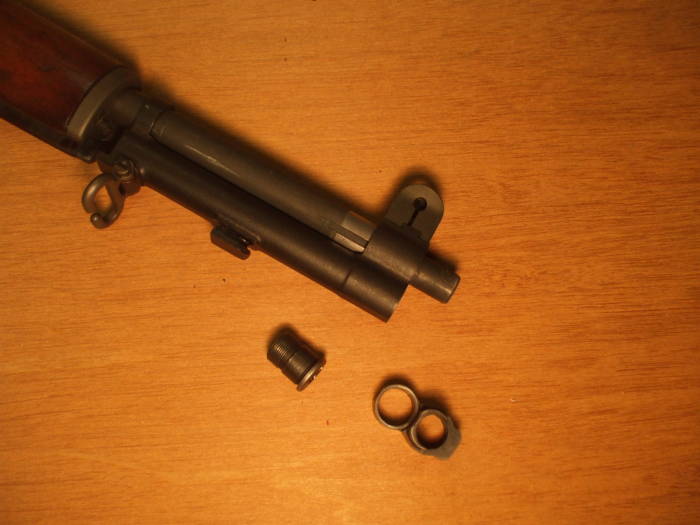
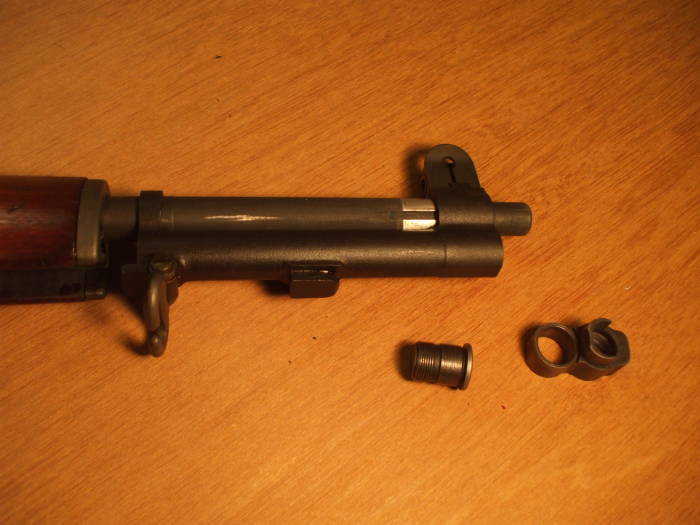
The gas cylinder lock screw and the gas cylinder lock have both been removed. Now the gas cylinder can be removed by sliding it forward.
It has been slid forward about a half an inch, exposing some non-parkerized steel on the barrel.
That area should not be parkerized to ensure a gas-tight fit. In order to protect that area from the parkerizing bath, you could coat it with high-temperature RTV sealant, or carefully cover it with duct tape that you firmly rub into place.
We used rubber stoppers in the muzzle and a rubber stopper and high-temperature RTV at the chamber to protect the bore and chamber from being parkerized.
Here's a second view of the gas cylinder coming off the barrel.
And another view. The shiny steel, left "in the white" and not parkerized, is where the gas cylinder tightly mates onto the barrel.
The gas cylinder and associated parts have been fully removed.
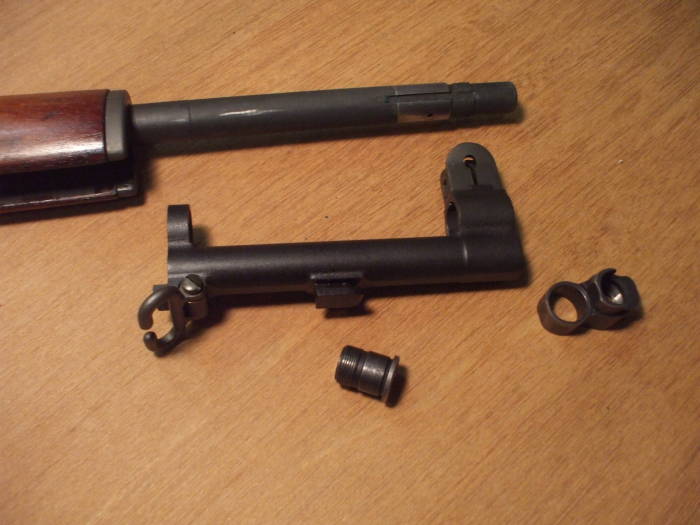
The front hand guard can be slid off the end of the barrel once the gas cylinder is out of the way.
The rifle is now ready for cleaning.