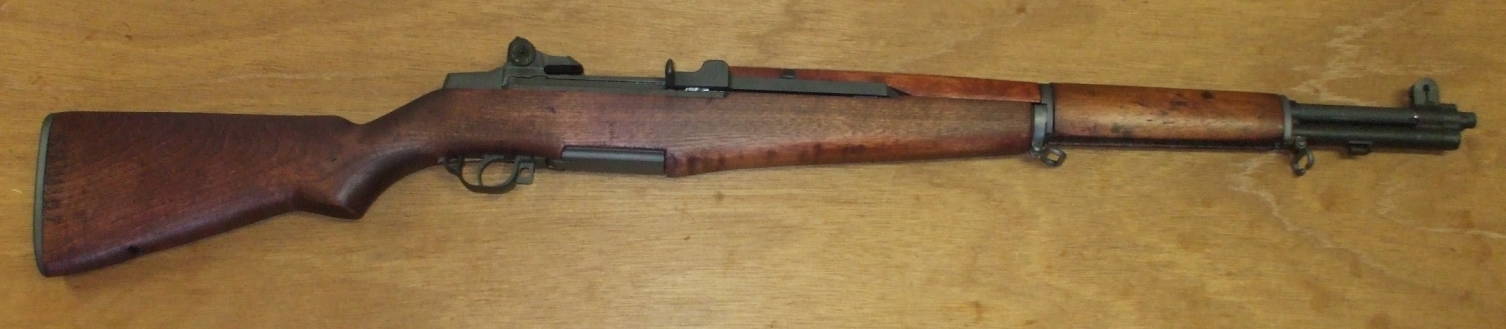
Restoring an M1 Garand Rifle
Let's see how to assemble an M1 Garand rifle! Before getting started, we will find the manuals. They're U.S. Government documents, so they're free to download if you know where to look. Then we'll get a receiver, parts kit and barrel. The new barrel will need finish reaming after mounting it to the receiver. The parts kit will include a mix of parts from different sources, we can use some references to figure out their vintage and source. We will restore the wooden stock. Then we will be ready for the final assembly! As soon as we get some ammunition, we will be ready to carefully break in the barrel, although that isn't as important as some people believe. Now that your newly rebuilt rifle is up and running, you may want to build a custom gun case and prepare for any needed troubleshooting.
First, some warnings
This page is not an authoritative description of how to assemble an M1 Garand rifle.
This page is nothing more than my notes about how I did that. You should not attempt this. You will undoubtedly damage your rifle, destroy your workshop, kill yourself, and do untold other harm up to and including unleashing Gozer and bringing on the apocalypse.
OK, that's enough lawyer repellent. On with the project!


Of course those are cases and not bullets. Cats are notorious for their poor grasp of technical terminology, not to mention typing and English grammar....

